Last updated on October 15th, 2023
If you’re a paintball enthusiast, then you know the importance of keeping your paintball gun clean. A dirty marker can lead to jams and decreased accuracy which might cost you losing a game!
In this guide, we will walk you through the steps of how to clean a paintball gun. We tried to cover everything from disassembling the gun to cleaning the barrel and other parts. By the end of this article, you’ll be able to keep your marker in the condition it deserves and ensure that every shot counts!
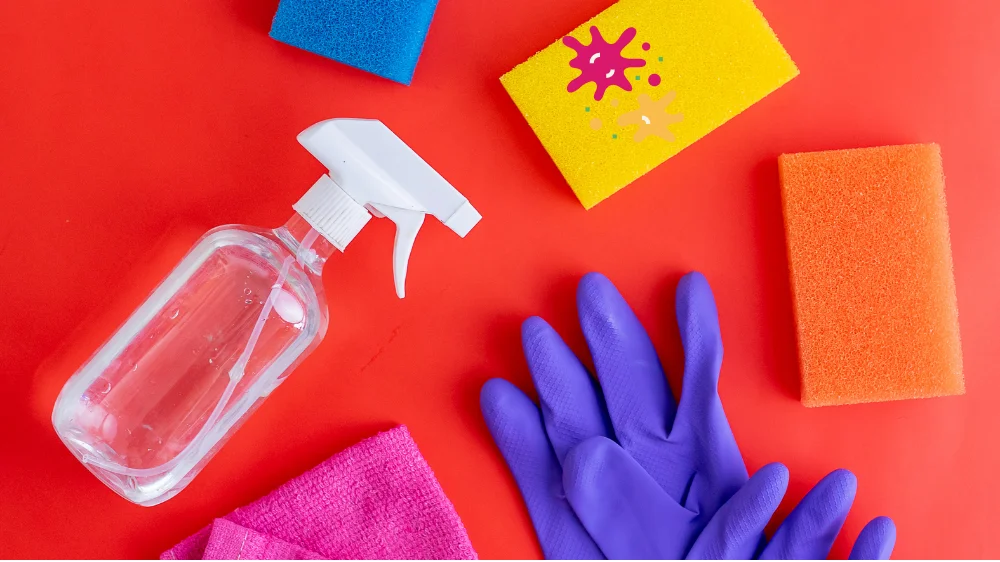
Before starting the cleaning process, you’ll need the following supplies:
- Gun solvent
- Pull-through squeegee (barrel cleaner)
- Rag/brush
- Toothbrush
- Q-tips & Pipe cleaners
- Mobile phone Camera – making a video of disassembly will help you remember all the steps for reassembling.
Cleaning a Paintball marker – Step by Step guide
Step 1: Disassemble the marker
- Degas your gun (from CO₂ or any other gas you might be using) for safety. Unscrew the CO₂ tank from its mount on top of the paintball gun and disconnect the tank from the marker.
Remember this is important to avoid any injuries from misfires. Like many others, one of our team members was seriously injured on his eye a few years ago. Along with safety, this will allow better access to other parts and make cleaning easier later on! - Remove the barrel
- Remove any accessories like sights or hand grips that might be attached.
- Detach the firing mechanism from the body.
- Remove the bolt and striker assembly
- Finally, remove the CO₂ cartridge from its housing on the bottom.
Step 2: Clean the barrel
- Pour a small amount of gun solvent into the barrel and insert the pull-through squeegee. Then gradually lift the squeegee and repeat this pattern a few times until it’s all clean.
- Remove the squeegee and use a toothbrush to clean out any remaining gun solvent.
- Now use q-tips to clean out the inside of the barrel. Be sure to get in all the nooks and crannies for a thorough cleaning!
- Finally, for a thorough cleaning, you may use a Microfiber. If you plan on using a moist cloth, make sure to properly dry the gun otherwise the corrosion can completely damage the barrel.
Pro tip – Always try to clean your barrel as soon as you get home from the battlefield. Especially during a moist or high humidity weather, you will have to do cleaning more often.
Step 3: Clean the body
After cleaning the barrel, it’s time to turn our attention to the body. During disassembly of any minute parts, Please make sure to make a video recording of all the steps. This will help ensure that you properly reassemble the gun without forgetting any step. Below are some steps for cleaning the body of marker:
- Use a rag or brush with solvent on one side and then dry rags on both sides to remove any paint stains. You may have to use warm water, in rare cases, to remove the stubborn gunk from some parts.
- If there are hard-to-reach places on your marker (such as in the grip area), use pipe cleaners soaked with solvent and then dry ones later to clean them out.
- Wipe off all of the excess paint, dirt, gunk etc. with a cleaning cloth or paper towel ensuring you are not cleaning in an area that will cause damage to your marker’s exterior (such as the O-rings).
Step 4: Bolt and Hammer Cleaning:
Bolt is an important part of your marker that slams forward to propel the ball down the feed neck into your marker’s firing chamber.
Here’s how to clean the bolt and Hammer
- Remove the Bolt and Hammer, which can be easily done by unscrewing their screws that hold them in place.
- Carefully clean them with a wet micro fiber cloth. Make sure to get into all the nooks and crannies
- Now dry them off with another paper towel. They should both be thoroughly air-dried to prevent any corrosion.
- Next, check the O-Rings for any signs of wear and tear. If there is only light damage, it can be corrected with regular maintenance. However, if there is any heavy damage, you may need to replace the components
Step 5: The Mask cleaning
If you’re a paintball enthusiast, you know the value of a good Mask on the battle ground. So let’s start with cleaning the Mask:
- Carefully pop the lens out of the mask.
- Take your time and be very careful with lens especially thermal lens.
- Scrub the edges of the lens with a brush and get off all the bits of dust from there.
- Then use a damp Microfiber to wipe off the dust or any paint stains from the Lens
- Now for cleaning rest of the mask, you can dunk it in the dish soap.
- Clean the space in and around the mask, including the foam, with a tooth brush. With a good Scrub, just scrub off any soap, water or dust left.
- Now let the lens and mask to dry out in the air
Step 6: Clean the paintball gun accessories
Now it’s time to clean any accessories that might be attached. These can include sights or hand grips and are also very important parts of your paintball marker! Here’s how to clean:
- With a rag and solvent start cleaning the firing mechanism
- Remove any paint that might be built up on the striker and bolt assembly
- Soak a toothbrush in solvent and scrub all areas of the firing mechanism until all the paint is removed from them.
- Finally, use dry rags or brushes on both sides to remove solvent residue after scrubbing paint off the paintball gun’s firing mechanism.
Step 7: Reassemble the marker
Now that your gun is thoroughly cleaned from all the paint build ups, Now it’s time to reassemble! Be sure to follow the instructions in your owner’s manual for proper assembly. We also recommend watching the reference video recording that you recorded during disassembling, at every step.
Now following are some general steps for reassembling the paintball marker:
- Place CO₂ cartridge back into its housing on bottom-side of paintball marker
- Align bolt and striker assembly with the firing mechanism
- Reattach the firing mechanism to paintball marker body
- Reattach any accessories that were taken off, such as hand grips or sights
- Finally, screw the barrel back onto the paintball gun. Be sure it’s tight so there’s no opportunity for paint to leak out!